

Making Natural Skincare from Countryside Ingredients: A Beginner's Guide
The hedge along the lane is doing what it does every June: offering far more than most people notice. Elderflowers, plantain pressed into the wheel ruts, a sprawl of wild chamomile where the mower never reaches. You don't need a laboratory or a shelf of expensive bottles to make something useful from that. A clean jar, a bottle of sunflower oil and a free afternoon will get you a long way.
What follows is a beginner's route into herbal infusions and simple balms — small batches, plain ingredients, honest expectations. Nothing here will replace a prescription or a dermatologist's advice. But it will teach you to read the field margin a little differently, and to end up with a few jars you actually use.
Begin With Plants You Can Name
The countryside is generous, and that is exactly the problem. Start with a short list of plants that are easy to identify and forgiving to work with: calendula, plantain, yarrow, lavender, rosemary, nettle, chamomile, elderflower, dandelion. Every one of them grows in ordinary places — gardens, field edges, waste ground, the strip beside a barn.
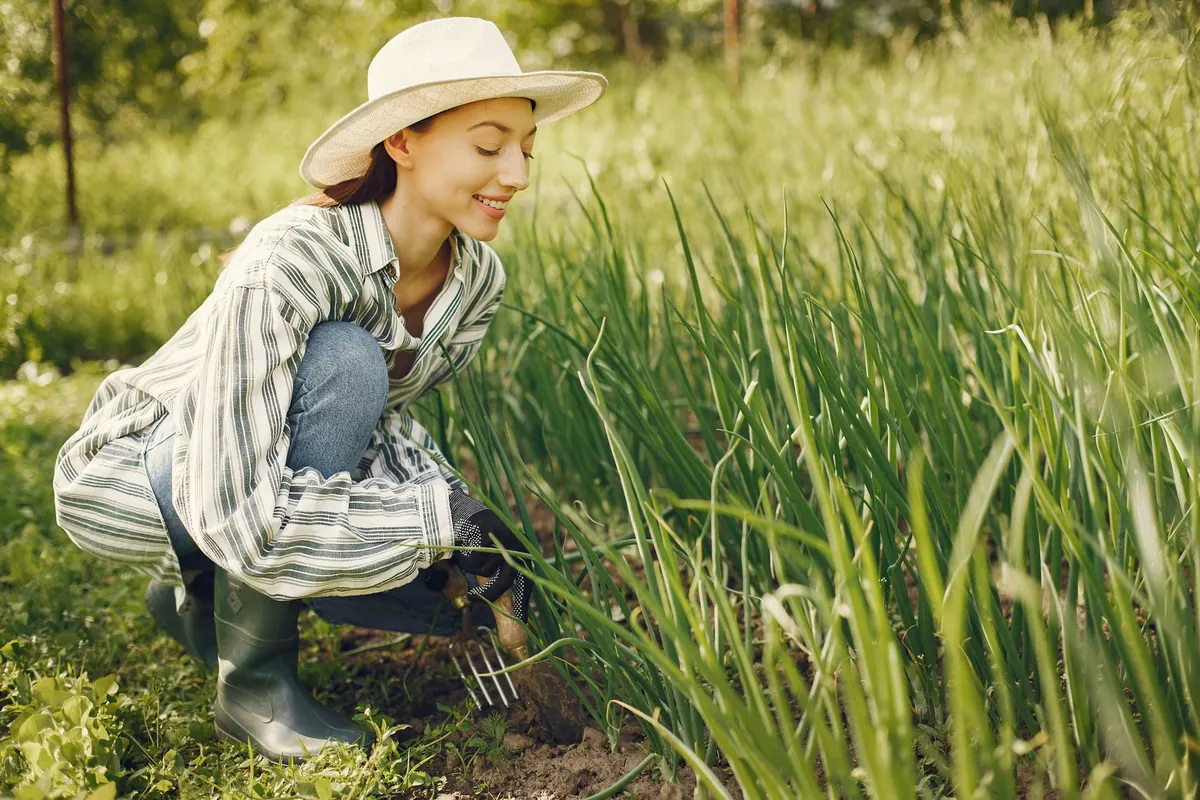
Harvest rules matter more than recipes. Pick only what you can identify with complete certainty, and if you can't, walk on. Take a field guide, or better, go out with someone who has picked before. Stay away from roadside verges, sprayed fields, railway embankments and anywhere dogs are walked. Ask before you pick on land that isn't yours, even a neighbour's meadow. Leave the strongest plants standing and never strip a patch bare — a third at most, so the colony recovers.
Pick on a dry morning once the dew has lifted, when the plant's oils are at their best. Dry flowers and leaves flat on a cloth or in a paper bag in a warm, airy, dark room for a week or two, until they crumble rather than bend. Store them in labelled glass jars away from light. Dried herbs are what you'll use for oils; fresh ones are for the pot and for teas.
Two Infusions, Two Different Jobs
Most beginner skincare comes down to getting plant material into either water or oil. They behave differently, keep differently, and are used differently. Learn both and you have the foundation for almost everything else.
The water infusion
This is a strong tea. Put a generous handful of dried herb — chamomile, elderflower, a little yarrow — into a warmed teapot or a jar, pour over just-boiled water, cover, and leave fifteen to twenty minutes. Covering matters: the volatile components that give the plant its scent will otherwise drift off with the steam. Strain through a fine sieve or muslin.
Use it the same day as a rinse, a compress or a bath addition. If you keep it at all, keep it in the fridge and use it within two days. Water-based preparations spoil quickly and quietly, so treat them as fresh food rather than as something to store on a shelf.
The oil infusion
This is the workhorse. Fill a clean jar loosely with thoroughly dried herb — calendula petals are the classic, and rosemary or plantain work well too — then cover with a plain, stable oil. Olive oil is affordable and robust; sunflower and sweet almond are lighter on the skin. Leave an inch of oil above the plant material, because dried herbs swell.
Seal the jar and put it somewhere warm and out of direct sun — an airing cupboard, a shelf above the stove — for three to four weeks, shaking it every day or two. Then strain through muslin, wringing the cloth to get the last of the oil out, and bottle it in dark glass. Label it with the plant, the oil and the date. It will keep for about a year.
One warning, and it is the one beginners most often ignore: everything going into oil must be bone dry. A single fresh leaf carries enough water to turn a jar rancid and mouldy within days. If you're impatient, use gentle heat instead — a heatproof bowl over a pan of simmering water, herbs and oil together, two to three hours on the lowest setting, then strain.
Your First Balm
A balm is simply oil thickened with wax. That's it. The skill is in the texture, which you learn by making two or three batches and adjusting.
- Weigh your infused oil. For a 100 g batch, start with 85 g oil and 15 g beeswax for a firm balm; drop to 10 g wax for something softer and more spreadable.
- Melt them together in a heatproof bowl over a pan of gently simmering water. Don't let the oil smoke.
- Stir until the wax has completely disappeared, then take the bowl off the heat.
- Dip a cold teaspoon into the mixture and let the drop set for a minute. Test it on the back of your hand. Too hard, add a little more oil; too soft, a little more wax.
- If you like, stir in a few drops of vitamin E oil as an antioxidant. Skip essential oils for now, or use them very sparingly — they are concentrated, and many are unsuitable for children or during pregnancy.
- Pour into small, clean jars while still liquid. Work quickly; it sets fast.
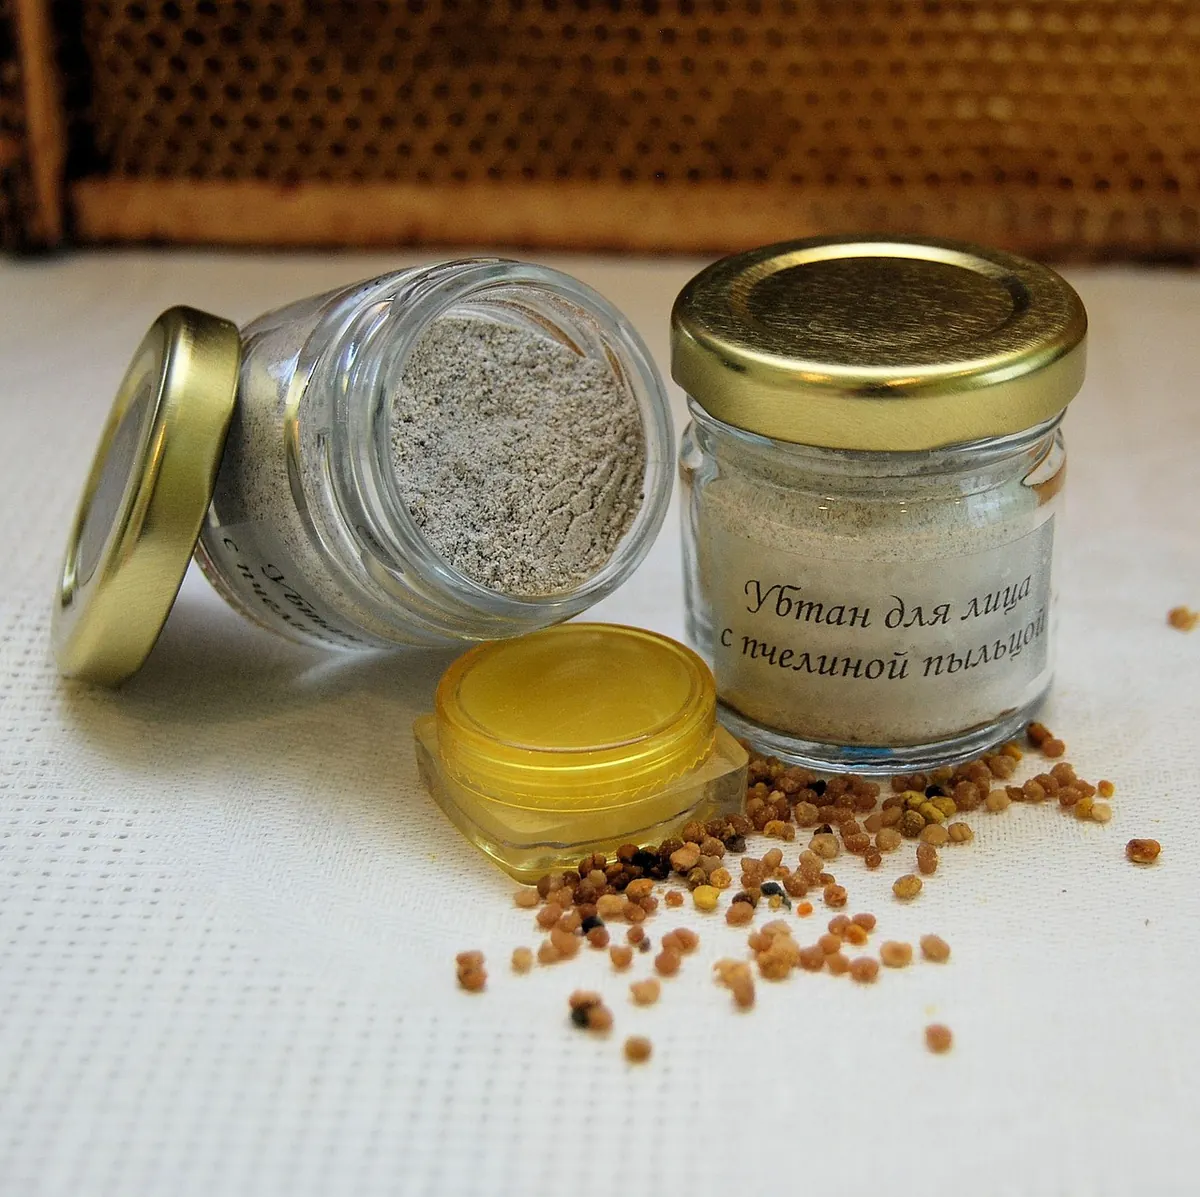
- Label with the date and contents, and let it cool undisturbed. A balm made this way will keep for three to six months in a cool cupboard.
Clean Hands, Small Jars, Clear Labels
There is nothing complicated about making skincare safely, but the small habits are the whole game.
- Wash jars and lids in hot soapy water, rinse well and let them air-dry upside down. A swish of high-proof alcohol before filling gives extra reassurance.
- Work with clean hands and clean tools. Avoid dipping fingers into a jar you'll keep for months — use a small spoon or a clean fingertip on small pots you'll use up quickly.
- Make small batches: 50 to 100 g is plenty. You will use them up before they turn, and you'll learn faster from several small batches than one enormous one.
- Patch test anything new on the inner forearm and wait a full day before using it more widely.
- Keep jars out of the bathroom windowsill. Heat and light shorten shelf life.
- Write the date on every label, plus what went into it. In three months you will not remember.
If you have eczema, rosacea, psoriasis or a history of contact allergies, or if you're making something for a child, check with a pharmacist or doctor before you start. Herbal does not automatically mean gentle, and a few common plants cause reactions in sensitive skin.
Three Easy Next Steps
Once you have an oil infusion in the cupboard, other things follow naturally. A sugar scrub is the simplest: three parts sugar to one part infused oil, scented with a little vanilla or a drop of lavender, used on the body rather than the face. A clay mask mixed with cooled chamomile tea at the moment of use takes thirty seconds. And a bath soak — rolled oats, a handful of dried lavender, a spoon of bicarbonate of soda in a muslin bag tied under the tap — is the least fussy thing you can make and the one guests ask about.
Start With One Jar
Resist the urge to make everything at once. Choose one plant you can identify confidently, one oil, and one jar. Make a single infusion, then a single balm, and use them for a month before adding anything new. Keep a notebook — the plant, where it grew, the weather, the ratio, what the texture was like, what you'd change. That notebook will teach you more than any recipe, because your climate, your hedges and your kitchen are not quite anyone else's.
By the second summer you'll know which verge to visit in June and which jar in the cupboard is the calendula one. That's the whole pleasure of it: a small, repeatable loop between the field margin and the shelf, and something useful at the end of it.
Photo: Yula29 / Pixabay